Technique
Glazing and Layering
Glazing builds depth with transparent layers: how to let each wash dry, keep colors clean, plan the order of layers and avoid mud when colors overlap.
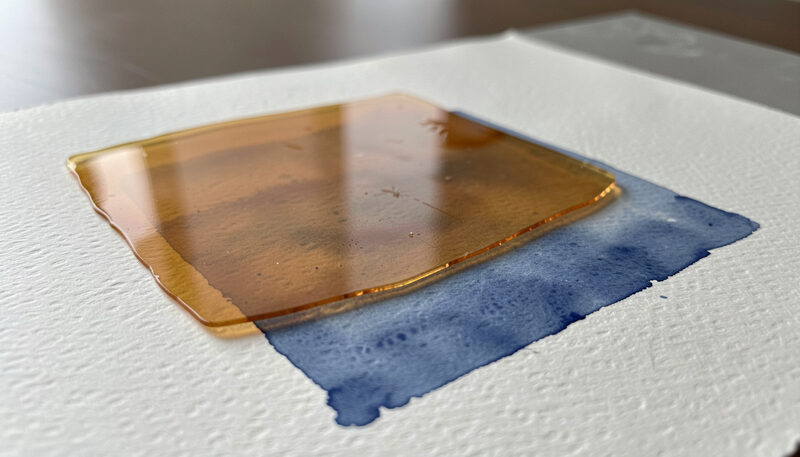
Glazing is the technique that makes watercolor look deep. A glaze is a thin, transparent layer of paint laid over a fully dry layer beneath. Because the paint is transparent, the color below shows through the color above, and the eye reads the combination as one rich tone. This is how a flat blue sky is turned into a storm, how a pale field gains shadow, and how a warm underlayer gives life to a cool one.
What glazing means
In oil painting a glaze is a transparent film over dry paint, and the principle is the same in watercolor, with one difference: watercolor cannot be corrected once a dark glaze is down. Each layer is permanent, so a glaze must be planned. The reward is a depth that mixing on the palette cannot produce, because the two colors remain separate on the paper and light passes through both. A mixed green is one color; a yellow glazed over a blue is two, and it glows.
Why transparency matters
Glazing only works with transparent pigments. An opaque pigment, such as a cadmium or a cerulean in strong mix, will hide the layer beneath and the glazing effect is lost. This is why painters keep a set of transparent colors for their layers: the phthalocyanine blues, the quinacridone reds and magentas, the transparent yellows, and the earth colors that stay clear when diluted. The guide to pigments explains how to tell transparent from opaque, on the label and on the paper.
Letting each layer dry
A glaze must go onto dry paper. If the layer beneath is still damp, the new paint will lift it and the two will mix into mud. Drying can be hurried with a hair dryer on a cool setting, but the sheet must be genuinely dry, not just dry to the touch at the edges. Rushing this step is the most common reason a glazing attempt fails. Many painters work on two paintings at once so that one can dry while the other is painted.
Keeping the color clean
Each glaze should be applied with a soft brush and a light, single pass. Scrubbing the surface lifts the layer below and dulls the color. The brush should be barely damp, so the new paint sits on the surface rather than soaking it. Clean water and a clean palette matter here more than anywhere else in watercolor: a dirty rinse will gray every glaze that passes through it.
Glazing to darken, not to mix
The most useful habit is to reach for a glaze when a color needs to be darker or richer, instead of mixing a darker version on the palette. A shadow on a green field is often the same green, glazed with a little of its complement. A warm shadow on a white wall is a pale wash of blue-gray glazed over a warm base. Building tone in layers keeps the shadows luminous, whereas a single dark mix tends to look flat and dead.
The order of the layers
Watercolor is painted from light to dark and, in general, from cool to warm or from warm to cool depending on the light in the scene. Cool shadows are often glazed first, with warm light laid over or left as bare paper. Yellow over blue gives a clean green; blue over yellow gives a slightly different, cooler green. The painter decides the order before starting, because the first layer sets the temperature of everything above it.
Two ways to darken a shadow
It is worth comparing, on a spare sheet, the two ways of making a shadow. Mix a darker version of the local color on the palette and paint it in one pass. Then, on a second shape, paint the local color, let it dry, and glaze a little of its complement over it. The mixed shadow tends to look flat and slightly muddy; the glazed shadow keeps a hint of the color beneath and reads as light falling across a surface rather than as a stain. This single comparison explains why glazing is worth the patience, and it is the fastest way to convince a beginner to try it.
Glazing a warm over a cool, and the reverse
The temperature of the layers changes the result. A warm yellow glazed over a cool blue gives a green that leans warm; the same two colors in the other order give a cooler, slightly grayer green. A warm sienna over a cool gray warms the shadow; a cool gray over a warm sienna cools it and can turn it muddy. Because the order cannot be undone, the painter decides the sequence before the first layer goes down. A useful rule is to glaze the cooler color first in shadows and the warmer color first in light, so that the final layer agrees with the temperature of the scene.
Practice before the painting
Glazing is best learned on a set of small test sheets rather than on a finished picture. Paint a row of pale washes of three transparent colors, let them dry, and then glaze each color over each of the others in turn, labeling the squares. The result is a personal chart of what the palette does when layered, which is more reliable than any printed chart because it uses the actual paper and paint on the easel. Keep the chart with the sketchbook and refer to it when a new mix is needed.
When glazing goes wrong
A glaze turns muddy when the layer below was not dry, when the new color is opaque, or when too many colors are stacked. It loses its glow when the brush scrubs the surface or the water is dirty. If a glaze is too strong, some of it can be lifted with a clean damp brush while it is still wet, but once dry it is fixed. As with every watercolor step, the cure is mostly prevention. Practice glazing on a spare sheet with three transparent colors before applying it to a finished painting, and compare a mixed tone with a glazed tone side by side.